Introduction: The Importance of Protective Floor Finishes
Applying a protective finish to your flooring is not just about enhancing its appearance; it’s a vital step in safeguarding your investment and extending the lifespan of your floors. Whether you’re dealing with hardwood, concrete, or other types of flooring, a good finish will protect against scratches, spills, and wear from daily activities. This guide will walk you through the process of applying protective floor finishes with a focus on achieving professional-looking results that last.
Choosing the Right Floor Finish
Assessing Your Flooring Type
The first step in applying a floor finish is to determine the type of flooring you have and its specific needs. Different materials require different types of finishes for optimal protection and aesthetic appeal. For instance, hardwood might benefit from varnishes or seals, while concrete usually does better with epoxies or acrylics. For durable and stylish solutions, commercial epoxy floors au offer an excellent choice for concrete surfaces.
Selecting the Finish
Once you’ve identified your flooring type, choose a finish that complements it. For wooden floors, polyurethane floor paints are a popular choice due to their durability and resistance to water and chemicals. These finishes are available in various sheens, from high-gloss to matte, allowing you to achieve the desired look for your space.
Preparing the Floor
Cleaning the Surface
Before applying any finish, it is crucial to start with a clean surface. Remove all dust, dirt, and debris from the floor using a vacuum cleaner followed by a damp mop. Ensure that the floor is completely dry before proceeding to the next step to avoid trapping moisture under the finish, which could lead to damage over time.
Sanding the Floor
For wooden floors, sanding is necessary to remove old finishes and create a smooth surface for the new coat to adhere to. Use a fine-grit sandpaper and sand the floor evenly. Vacuum up the dust and wipe down the surface with a tack cloth to remove any remaining particles.
Applying the Finish
Mixing the Finish
If your finish needs to be mixed, follow the manufacturer’s instructions carefully. Some products require a catalyst or hardener to be added. Ensure the components are thoroughly mixed to achieve a consistent finish.
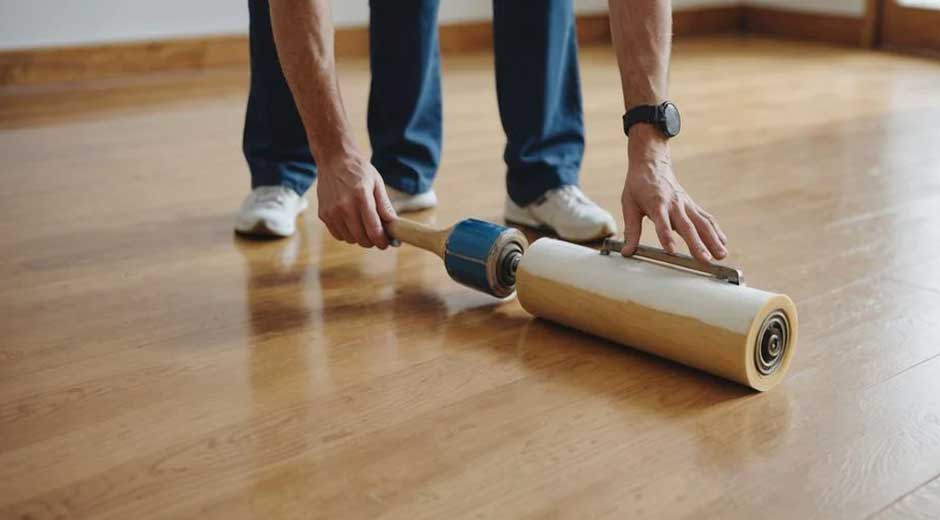
Using the Right Tools
The type of tool you use will depend on the kind of finish and the size of your area. Rollers are suitable for large areas and flat surfaces, while brushes can be used for smaller, detailed areas or edges. For finishes that require a smoother application, a high-quality synthetic brush or a foam applicator is ideal.
Applying the First Coat
Begin at the farthest corner of the room and work your way towards the exit to avoid stepping on the freshly applied finish. Apply the finish in thin, even coats, ensuring not to leave any drips or streaks. If using polyurethane or a similar product, maintain a wet edge as you work to prevent lap marks.
Drying and Recoating
Allow the first coat to dry completely according to the product’s drying time guidelines. This could vary from a few hours to overnight, depending on the climate and the finish used. Once dry, assess the coat and sand lightly if required to ensure a smooth base for the next layer. Remove all dust before applying the second coat.
Finishing Touches and Maintenance
Applying Additional Coats
For floors that will receive heavy traffic, consider applying multiple coats. Two to three coats are typically sufficient for most residential floors, while commercial spaces might require additional layers for extra durability.
Curing Time
After the final coat, allow the finish to cure fully. The curing time can be significantly longer than drying time and may take up to several days. During this period, avoid placing furniture on the floor or allowing heavy foot traffic.
Regular Maintenance
Once the finish is fully cured, regular maintenance will help keep your floors looking their best. Sweep or vacuum frequently to remove grit and dirt that can scratch the surface. Clean spills promptly and use only recommended cleaning products to avoid damaging the finish.
Enjoying Your Beautifully Finished Floors
By following these detailed steps, you can successfully apply a protective finish to your floors, ensuring they are not only beautiful but also well-protected against everyday wear and tear. Regular maintenance will keep your floors in top condition, allowing you to enjoy the results of your hard work for years to come. Remember, the key to a successful floor finishing project is preparation, patience, and attention to detail.